macOS Ventura, how to manage AirPods settings? Among the novelties of macOS Ventura, there is the possibility to manage the AirPods options from a single point of reference: when they are connected, in System Settings it is possible to call up a window dedicated to AirPods.
OPPO Reno8 T 5G review: a worthy contender
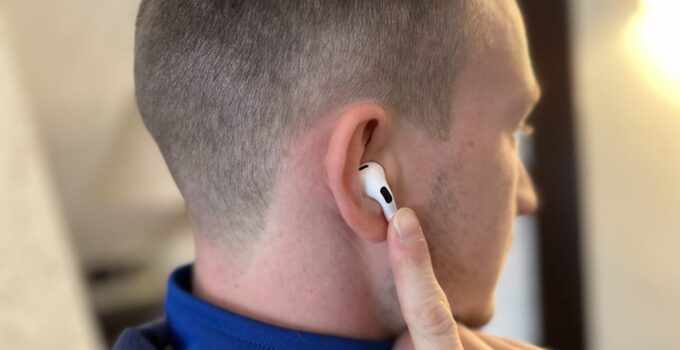
How do I pair AirPods with Mac?
To set up AirPods (2nd generation) with your Mac, you need macOS Mojave 10.14.4 or later. AirPods Pro (1st generation) require macOS Catalina 10.15.1 or later. AirPods (3rd generation) require macOS Monterey or later. AirPods Pro (2nd generation) require the latest version of macOS.
If you don’t see your AirPods in the Bluetooth Settings or Volume Control menu, you need to:
- Open System Settings, click Bluetooth
- Check that Bluetooth is turned on.
- Insert both AirPods into the charging case and open the lid
- Press and hold the setup button on the back of the case until the status indicator flashes white.
- Select your AirPods in the Devices list, then click Connect.
- If the sound is still coming from your Mac speakers, just click the Bluetooth menu or volume control in the menu bar and make sure your AirPods are selected as the audio output device.
You can automatically switch from one device to another. For example, listen to music on your Mac and simultaneously answer a call on your iPhone. AirPods automatically switch between playing music on the Mac and calling audio on the iPhone.
How to bring up AirPods Settings from macOS Ventura?
If the AirPods are already paired with the Mac, we can change various settings from macOS Ventura
- Open System Settings
- Select AirPods in the left column
- In the right-hand column of the screen, you can check and change various settings according to the AirPods model in use, dissociate the device, choose whether or not to show it in the “Where’s” app, etc.


