How to calibrate Mac monitor for better performance? Calibrating the Mac monitor or an external display is one of the most useful operations to carry out to always have the best possible quality. There are many products on the market that can assist us in the process, such as the Datacolor SpyderX Pro and Calibrite models.
Vivo enhances photos and videos with new algorithms and dedicated chipsets
Apple monitors, especially in recent years, leave the factory already accurately calibrated for a wide range of color profiles and needs. But the stock calibration or pre-installed color profiles are not always totally satisfactory. Here’s how to use an external colorimeter to make Apple monitors and any third-party monitors connected to your Mac look perfect.
Preliminary operations to be carried out before calibrating any display
Before proceeding with the calibration of the Mac monitor or the third-party monitor that we use with our computer, it is necessary to obtain a series of information and purchase a professional tool that will allow the Mac or PC to analyze the data collected on the monitor and apply a certain color profile to ensure greater color accuracy and fidelity.
In detail you need:
- A digital color analysis tool (SpyderX, Calibrite ColorChecker, etc)
- The colorimeter software you purchased, or software that is compatible with the product and your system
- Information on the type and characteristics of the monitors in use
Finally, it is necessary to keep in mind the objective to be achieved and, therefore, to understand for what purpose the calibration of the display is needed.
Who needs to calibrate a monitor?
Anyone who buys such a product is because they want the best from their display and therefore know its limits and characteristics. Furthermore, it is clear that any user looking for greater precision in terms of color fidelity knows well what he will have to use the monitor for (video, photos, graphics, etc.) and therefore already knows the specifications to keep in mind.
Let’s just remember that no calibration tool can work miracles and completely change the performance of a display if the latter is limited by its construction specifications, panel, age and price range.
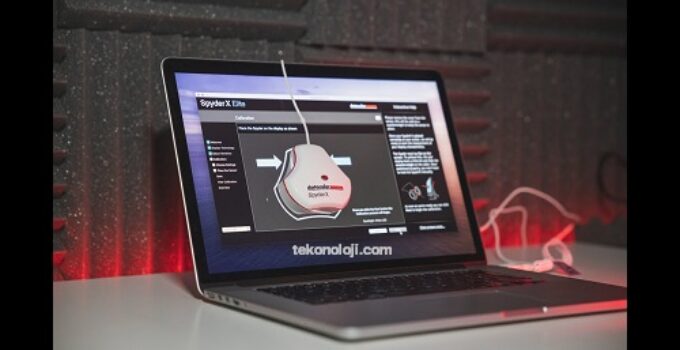
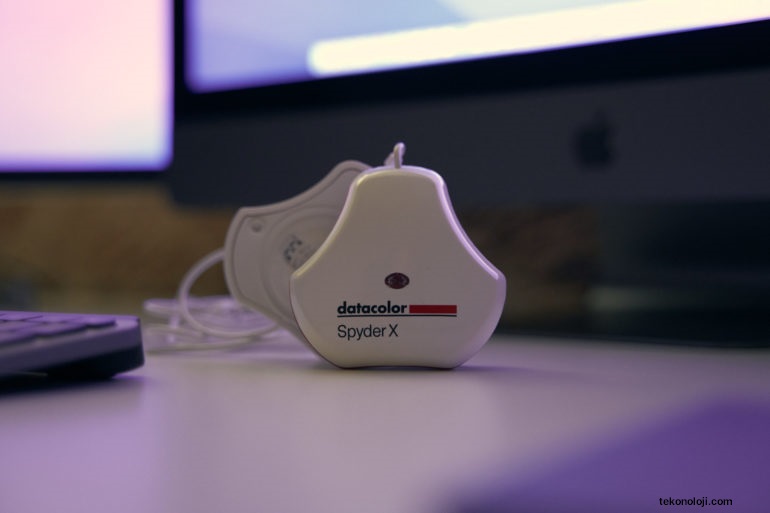
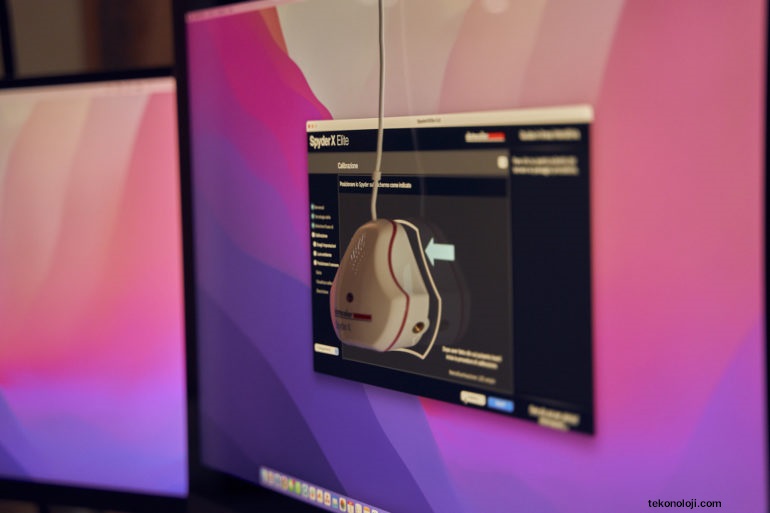
Datacolor SpyderX Pro: Here’s how to calibrate your Mac monitor
Personally, I chose the Datacolor SpyderX Pro because it seemed to me the best choice for my needs and for the monitors I needed to calibrate. The result I obtained at the end of the calibration was remarkable and prompted me to carry out increasingly in-depth analyzes and color profiles based on my every need. Without telling you why I chose to create more than ten color profiles, depending on my use of the monitor, I’ll explain what the Datacolor SpyderX Pro can do.
What can this tool do?
Basically, this product first measures the intensity of the ambient light to determine which are the correct starting parameters based on the room you are in.
For a perfect calibration it is necessary to have full control over the lighting of the room and to correctly position the lights to prevent them from interfering with the use of the computer. Light sources should never be positioned in front of the monitor because they would make any color work uncomfortable and inaccurate.
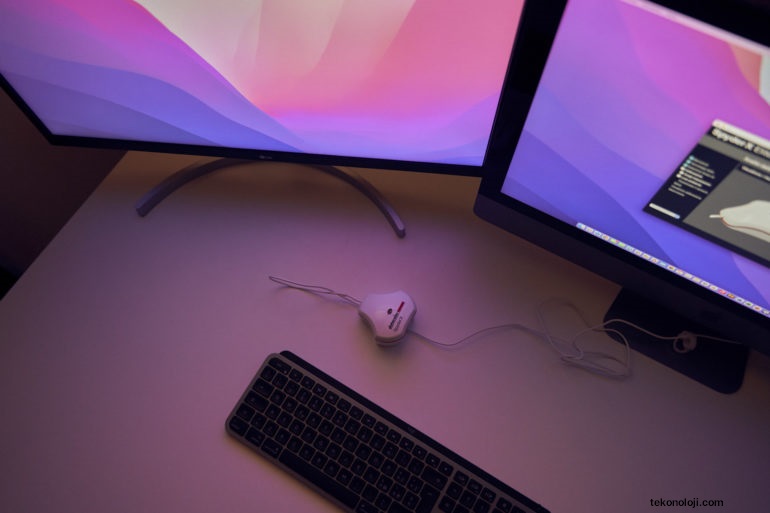
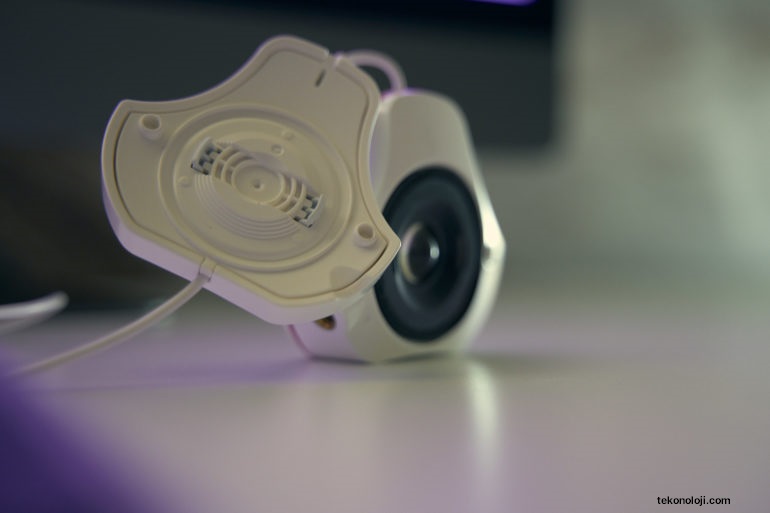
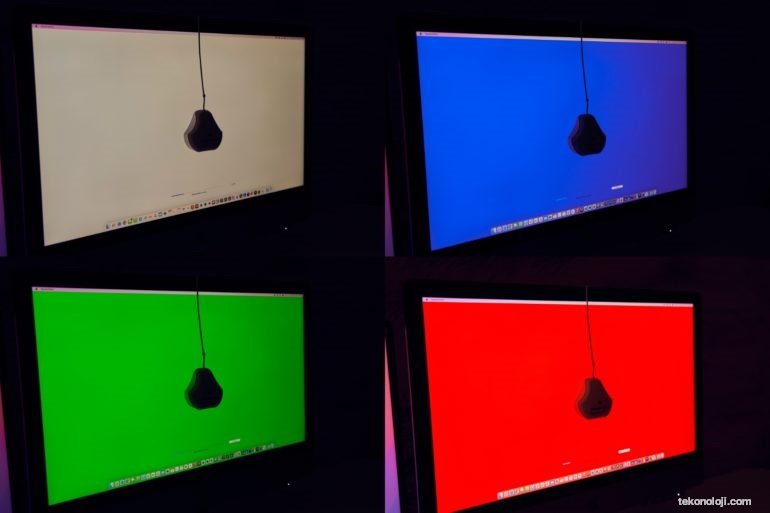
Once the SpyderX Pro has been positioned on the desk, it is possible to launch the light measurement and then, if the feedback appears satisfactory, (gently) place the probe on the monitor to start the real panel calibration.
The advice I can give you is to slightly tilt the monitor backwards so as to allow a better adherence of the instrument. It will then be necessary to set the various details, based on the result you want to obtain, and follow the steps on the screen which include manual brightness adjustment.
Once the calibration of the display is complete, it will be possible to apply the newly customized color profile to get the most out of your monitor and change it whenever other configurations are needed.
Finally, the advice is to repeat the calibration at least once a month to make sure that there are no variations, even minimal, in the lighting of the room. The calibrations are already quite quick but when it comes only to update the calibrations previously carried out, it takes just a few seconds to complete everything.
Obviously, the various models on the market are similar in basic characteristics but differ in some specific details, such as the maximum supported brightness (nit) for HDR displays.
How to calibrate the Mac monitor: the steps to follow?
Now I show you, step by step, the steps I performed to calibrate the monitor of my iMac Pro. Obviously these settings are not valid for everyone and you need – as I said before – to know what type of calibration to perform, on which white point to act and which color standard to choose.
- Prepare the monitor by keeping it turned on for at least 30 minutes
- Start the calibrator software
- Measure the amount of ambient light
- Select the type of calibration to be performed
- Place the calibrator on the monitor and start the process
- Follow the instructions on screen
- Look at the summary and analyze the differences with the previous calibration
- If the calibration is satisfactory continue saving the color profile, otherwise repeat it adjusting the settings as needed
- Obviously the procedure is the same on Windows so the advice we have given you is universal.


